Are you new to Blip? Learn how to create your first campaign.
How to Create a Campaign:
Creating a campaign is the first step toward building awareness and recognition for your business. Follow the step-by-step directions below to get your campaign ready to launch.
1. Click the “+ Create Campaign” button.
2. Choose your Campaign Type:

-
- Max Awareness - Best CPM option, plays anywhere on the Blip Marketplace
- Location-Based - Choose your own locations
- Demographics - Plays across the Blip Marketplace to target your specified demographics
3. For Max Awareness or Demographics:
-
-
Set Campaign Name, Budget, Start and End Date (and demographics criteria if applicable)
- Upload Artwork of the requested sizes
- Once approved, your artwork starts to play
-
4. For Location-Based you choose your targeted locations, and set your budget:
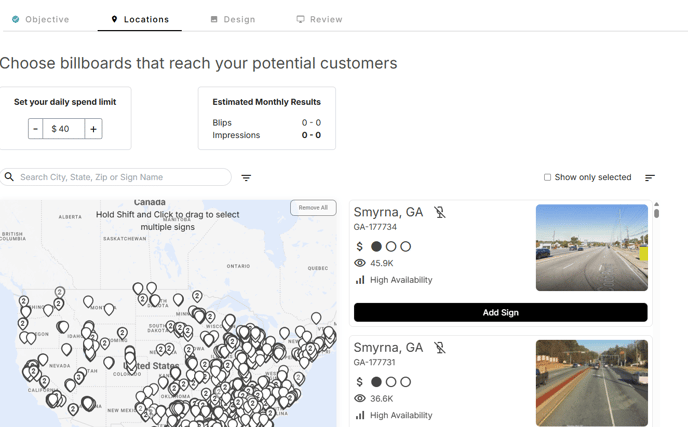
5. After selecting locations and budget, you upload artwork of the requested sizes.
6. Review your campaign settings, set start and end date, and launch your campaign.
This is also where you are prompted to add a card for us to bill your campaign charges to.
