Creating Sign Groups
Creating sign groups enables you to choose which signs you want to moderate ads on. For example, if you owned two billboards, but could only allow that ad on one of the boards, you could approve it for just that one board using sign groups.
Use the following steps to create a sign group:
Step 1. Log in to your account at https://operator.blipbillboards.com/
Step 2. Navigate to the 'Sign Groups' page using the left tab.

Step 3. Add Sign Group. Click on the Add "+" button at the top right to add a group. Or select an existing group from the list of options.
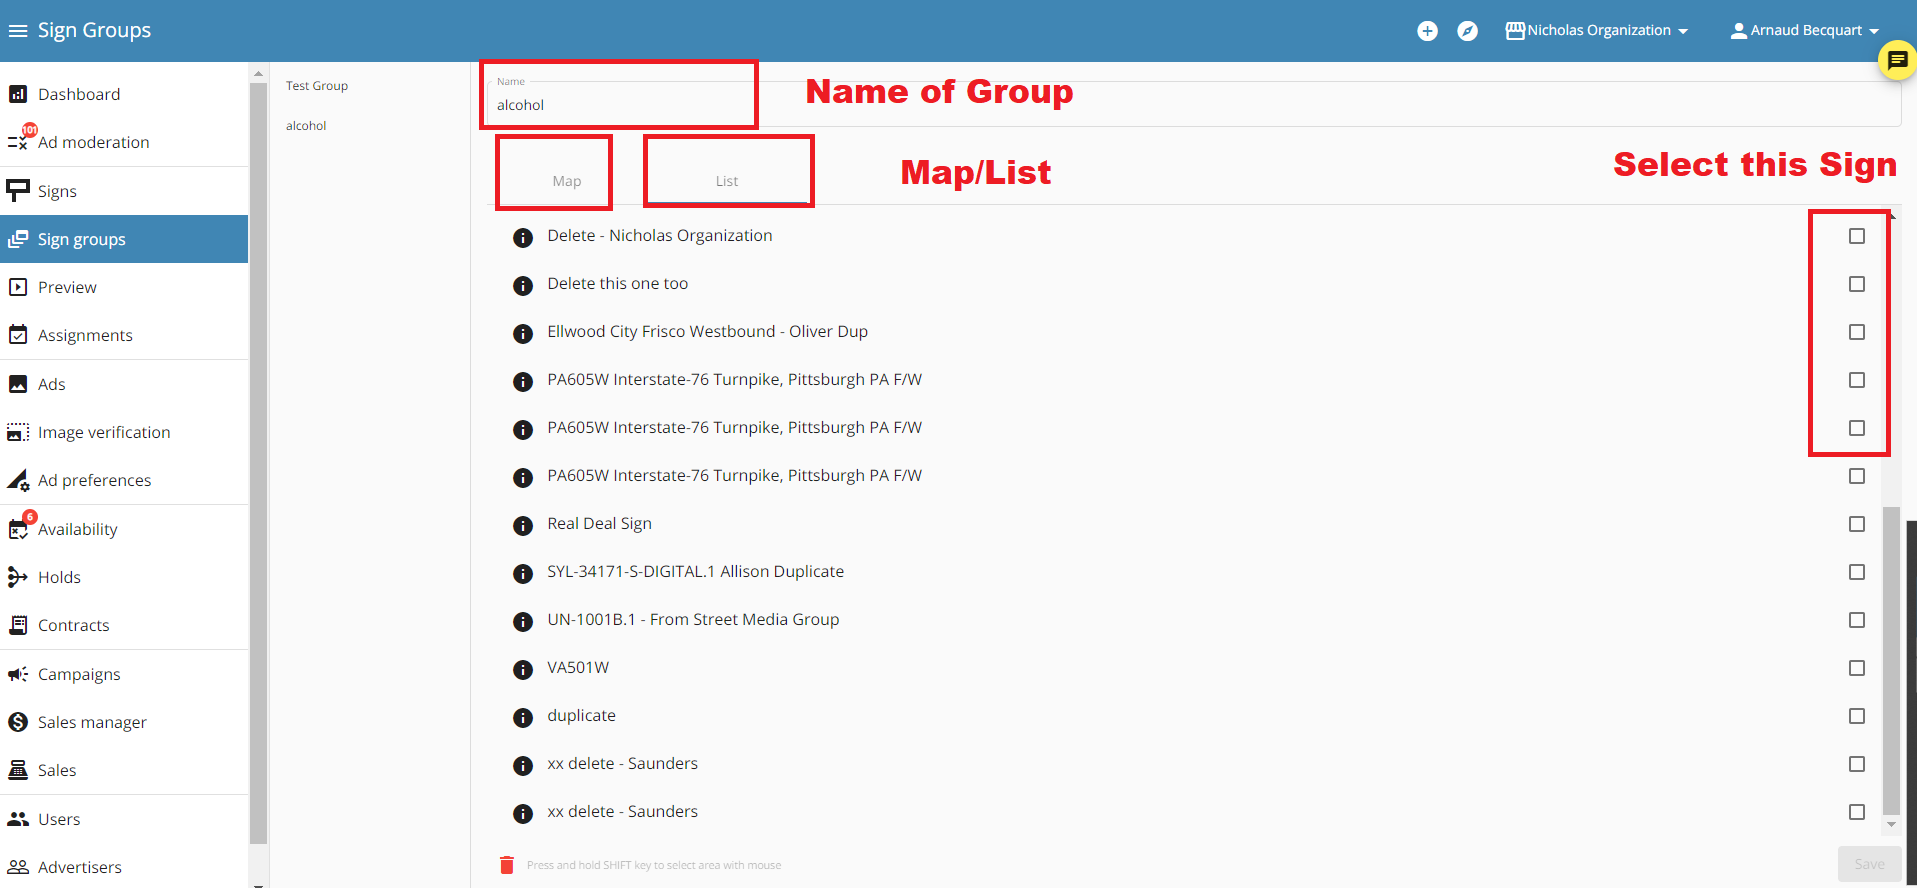
Step 4. Give the Sign group a name.
Step 5. Select your signs. We recommend selecting all of the boards that can approve the ad in question. In this example I will name the group 'Alcohol' and include all of the boards that can include Alcohol ads.
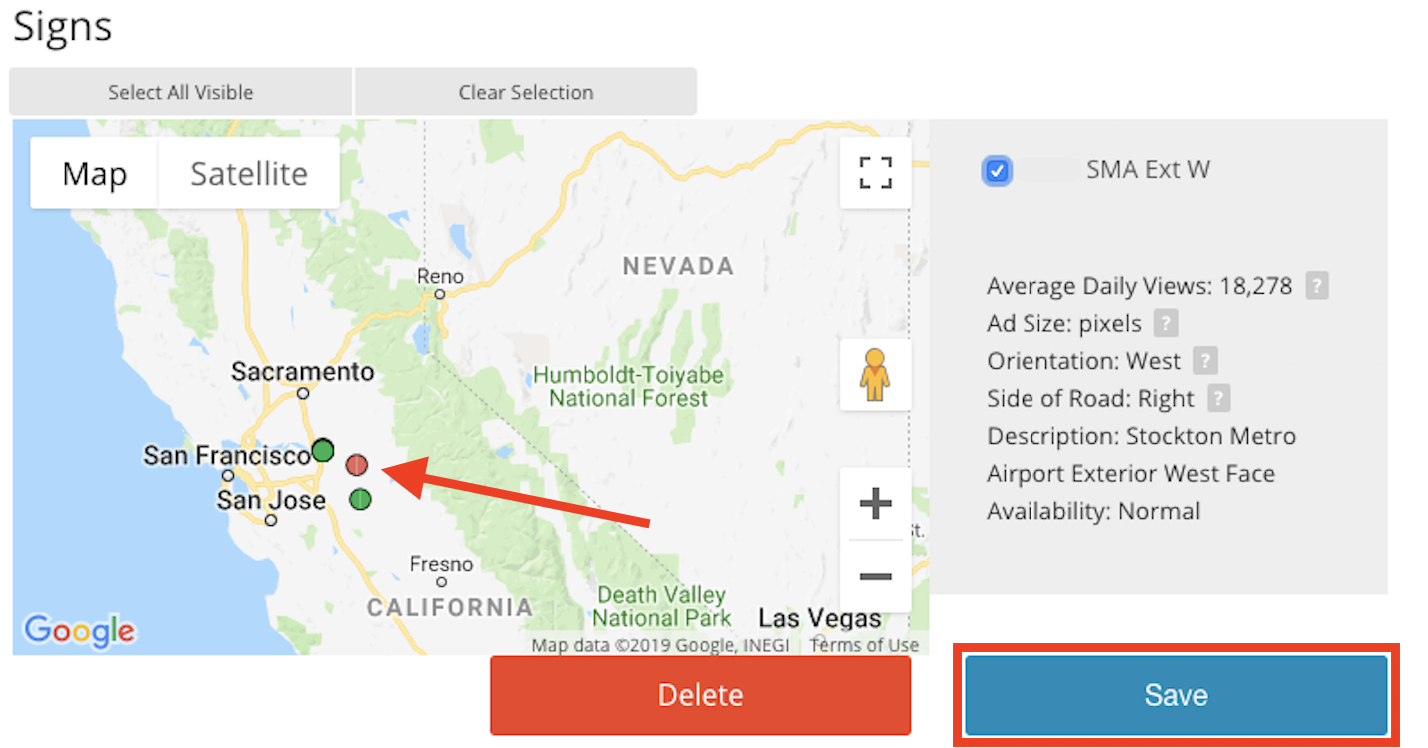
You can select them on by using the map (selected signs will appear in green, and unselected signs will be red) or by using the list feature. In the List feature, you can check the boxes near the right side. (see following images for help)
Step 6. When you are done, click Save.
Using Sign Groups
This next section will show you how to use the created sign group when approving ads:
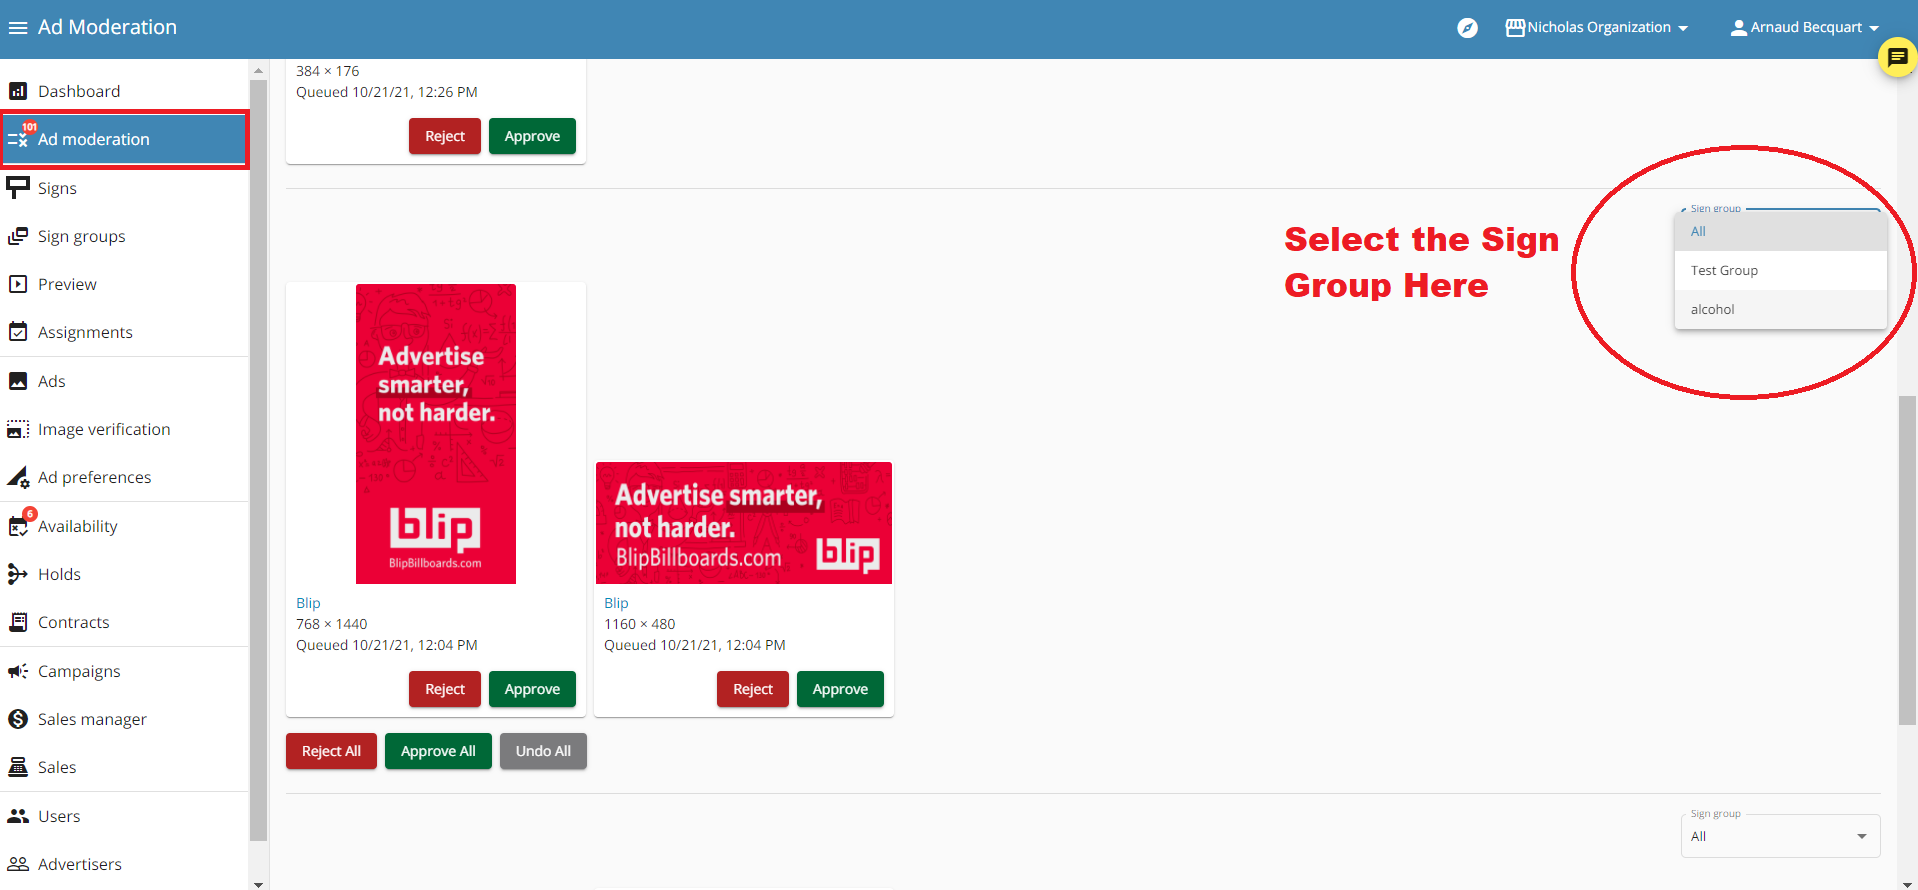
Step 1. 'Navigate to Ad Moderation using the left tab.'
Step 2. Select the sign group on the right side of the ad.
Step 3. Approve or reject. That will approve/reject that ad/ads for all signs that were selected in that ad group.
DO NOT use the 'Sign Group' at the top when approving/rejecting ads. That is only for filtering which ads appear on the page.